|
|
| |
|
Diagrams
|
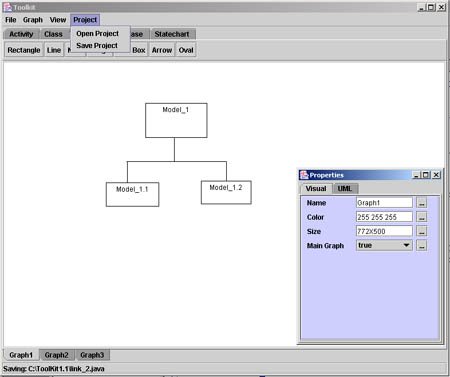
How to make Cascaded Graphs Open the toolkit and select the 'Objects' tab. We are going to make an abstract of a top level model having sub elements and then these sub elements can be further broken down in a different set of elements having different attributes. We name the main model as 'Model_1' have two sub models 'Model_1.1' and 'Model 1.2'. So select the rectangle icon from the toolbar. Click the screen and drag the rectangle lines to the size of your choice. repeat the process twice and link the rectangles as shown below.
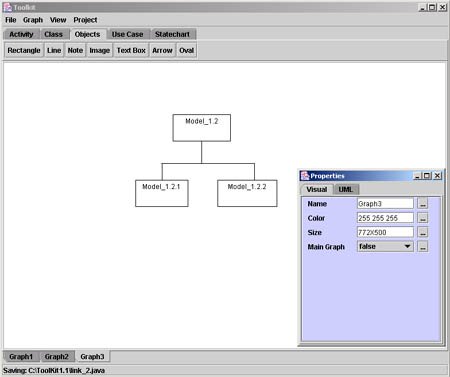
Now click the Graph menu and select the new graph option. You will see a new blank screen and on your bottom left hand corner you will see the graph cascaded. Now make the same model but change names. The parent element is 'Model_1.1' and the sub models are named 'Model_1.1.1' and 'Model_1.1.2'. Similarly, select another new graph and draw the same model with names shown below:
How to Link Two or More Graphs? Select the 'Model_1.1' on the Graph1. You will see a graph link option in the property applet. Click on the icon next to the text area and select the Graph2 option from it. This is how the two graphs are connected. Similarly go to Graph2 and connect it to Graph1, also connect Graph3 to Graph1. Save the File by exporting to Java Applet. Now open the html page that is automatically created.
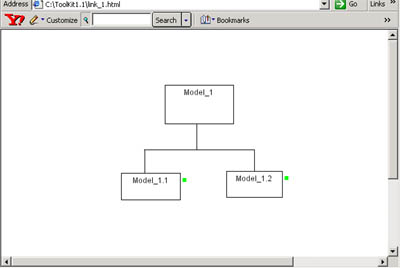
Notice the Green dot next to the element represents that there is a link to the element. click on the element and it will take you to the linked graph. Final Applet: Your final applet should look like this.
|